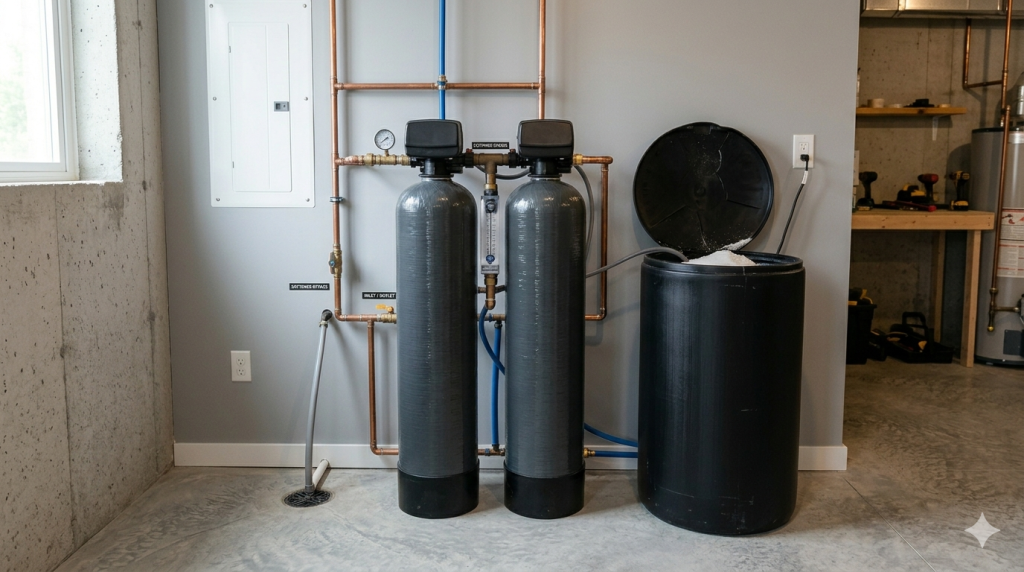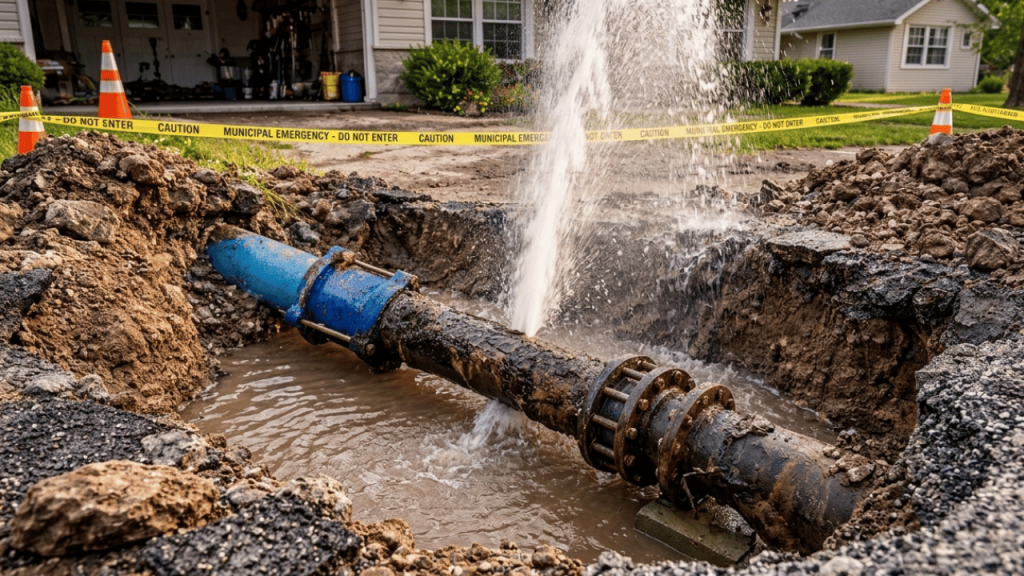

Before you unpack a single box, spend two hours inspecting your new home’s plumbing. The Insurance Information Institute reports that water damage and freezing claims average over $15,000 per residential incident and most of those losses started with hidden issues that were detectable on day one. A walk-through with a flashlight, a pressure gauge, and this checklist catches the problems that standard home inspections miss.
Standard building inspections give you a baseline, but they happen briefly and rarely catch intermittent plumbing faults that only show up under daily use. Once your furniture is in and the boxes are stacked, access to under-sink areas, water heater closets, and crawl spaces becomes nearly impossible. The empty-house window is the cheapest and easiest opportunity to find problems before they find you.
In this guide, we walk through the exact pre-move-in plumbing checklist Elite Rooter technicians use across our service areas in Arizona, California, Colorado, and Florida what to inspect, what the warning signs look like, and what costs to expect if a professional repair is needed.
Why Are Pre-Move-In Plumbing Inspections So Important?
The two weeks before move-in are your only realistic window to inspect plumbing without obstruction. Once the moving truck arrives, every fixture, every wall, and every floor cavity becomes harder to access. A leak that would have been visible on a bare wall in May becomes a hidden disaster behind a bookshelf in August.
The cost math is also straightforward. A pre-move-in inspection runs $150 to $400 with most licensed plumbers. The average US residential water-damage claim runs $15,000+ per the Insurance Information Institute. That is a 30-to-100x ROI on a single inspection and that math does not include the lost belongings, the displaced family, or the months of remediation work.
Standard home inspections during the buying process are valuable but limited. Most inspectors spend 2 to 3 hours on the entire property and check plumbing visually rather than under operational stress. Issues that only appear with sustained water flow, pressure changes, or simultaneous fixture use frequently slip through.
How Should You Coordinate Plumbing Inspections With Your Move?
Successfully transitioning into a new house requires balancing logistics with home maintenance. While you coordinate the transport of your belongings and book trusted removals Brisbane professionals to safely relocate your heavy furniture, you should simultaneously evaluate your new property’s plumbing system. Taking the time to assess pipes and fixtures while the house is still empty allows for unobstructed access to areas that will soon be blocked by couches, cabinets, and boxes.
It is much easier for a professional plumber to address a minor leak or replace a faulty pipe before your household items are unpacked and potentially placed in harm’s way. Furthermore, testing the water lines the moment your utilities are transferred ensures that you are not moving your prized possessions into a room with a concealed leak.
The ideal sequence: utilities transferred → 1-week DIY inspection window → professional plumbing audit if issues found → repairs scheduled → moving day. Most repairs that come up in a pre-move-in inspection can be completed in 24 to 72 hours, well within the typical move timeline.
What Should You Check on the Water Heater Before Moving In?
The water heater is the single most common source of catastrophic post-move-in failure. A sudden breakdown can leave your family without hot water and facing thousands in flood damage from a tank rupture. Most water heater failures are predictable from external signs that take five minutes to spot.
Before you start arranging your utility room or garage, inspect the unit closely:
- Visible rust on the tank exterior particularly around the base, the top fittings, or the temperature and pressure relief valve (T&P valve, a safety device that releases water if pressure or temperature exceeds safe levels)
- Strange popping or rumbling noises during operation usually indicates sediment buildup at the bottom of the tank
- Puddles or damp concrete around the unit, even if no active leak is visible
- Manufacturing date sticker most tank water heaters are designed for 8 to 12 years; if the unit is past 10 years, plan for replacement
- Anode rod condition if the rod is heavily corroded or completely consumed, the tank itself is the next thing to corrode
If you notice any of these warning signs, consult our complete guide on signs your water heater needs replacement to avoid a costly failure shortly after moving in. Preventative water heater replacement is always more manageable than an emergency call on a holiday or weekend.
Tankless water heater? The rules shift slightly. Look for mineral scale buildup at the inlet, check the flush date sticker, and listen for fan noise irregularities. Tankless systems typically last 15 to 20 years but require annual descaling in hard-water markets like Phoenix, Tampa, and San Diego.
Regular maintenance checking the anode rod, testing the pressure relief valve, or flushing sediment from the tank extends the lifespan of any water heater and improves daily energy efficiency. Schedule annual maintenance during your first year of ownership to establish a baseline.
What Are the Essential Indoor Plumbing Checks for New Homeowners?
Beyond the water heater, there are several smaller plumbing components that require focused attention. Walking through the house and systematically checking these fixtures gives you lasting peace of mind as you begin to enjoy your new space.
How Should You Test Taps, Showerheads, and Drains?
Turn on every tap and showerhead in the house for at least 60 seconds each. Watch for:
- Water pressure: A sudden drop when you turn on a second fixture indicates supply-line issues or pressure regulator failure
- Slow drainage: Water that stands in the basin after the tap is turned off suggests an impending blockage in the drain line
- Discolored or rusty water: Particularly common when a home has been vacant for weeks; flush each fixture for several minutes to clear standing water
- Whistling or hammering noises: Water hammer (a pressure surge caused by sudden valve closure) indicates pressure regulation problems
- Hot/cold reversal: Surprisingly common in older homes where previous repairs swapped supply lines
Run the dishwasher and washing machine on a short cycle while you observe other fixtures. Multiple drains responding poorly under simultaneous use signals a main sewer line restriction — exactly the issue that escalates fast under daily household use.
What Should You Look For Under Sinks and Vanities?
Shine a bright flashlight under every kitchen and bathroom basin. The signs of hidden leaks are subtle but consistent:
- Warped cabinetry at the floor of the cabinet sustained moisture warps particle board and MDF before any visible water appears
- Peeling paint or bubbling finish on cabinet interiors
- Musty odors even mild musty smell signals hidden moisture and likely mold growth
- Active drips at supply line connections, especially shutoff valves
- Corrosion on supply lines particularly common on older copper or galvanized fittings
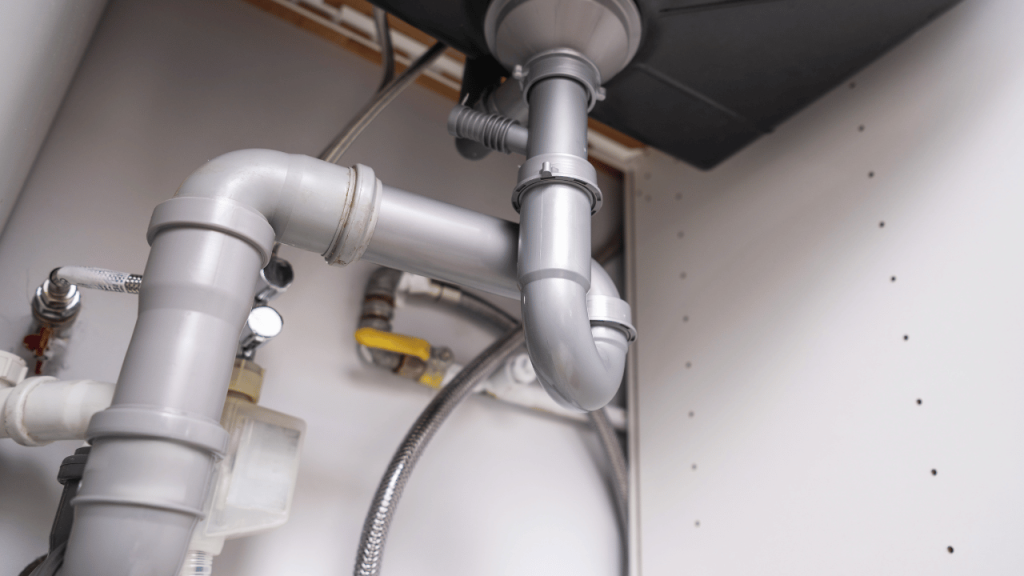
- P-trap (the curved pipe under sinks that holds water to block sewer gas) integrity check for cracks, loose connections, or signs of past leak repair
Hidden under-sink leaks are the most common source of new-homeowner water damage claims. Catching one before move-in costs $200 to $500 in repair. Catching one after your $4,000 dining table sits over a soaked floor costs significantly more.
How Do You Check Toilet Stability and Function?
Toilets can hide problems that create severe long-term damage:
- Sit on the toilet and rock gently any wobble means the wax ring (the seal between the toilet base and the floor flange) is compromised
- Flush each toilet 3 times in succession watch for slow refill, weak flush, or running water that does not stop
- Listen for ghost flushes a toilet that randomly refills without being flushed has a leaking flapper valve, wasting up to 200 gallons per day
- Check the base for any moisture, discoloration of grout, or warping of nearby flooring
- Inspect the supply line corrosion or active drips at the wall-side shutoff are common
A loose toilet that goes unaddressed can rot the subfloor over months, eventually requiring floor replacement plus toilet reinstall — typically $1,200 to $3,500 in repair vs. $150 for a wax ring replacement caught early.
What Outdoor Plumbing Should You Inspect Before Moving In?
Outdoor plumbing is the most overlooked category in new-home inspections, and it is also where the most expensive surprises hide. Buried supply lines, irrigation systems, and main sewer laterals are not visible — but their failures are catastrophic.
How Do You Check Outdoor Faucets and Hose Bibs?
- Turn on every exterior faucet (also called a hose bib) for 30 seconds
- Listen for water flowing inside the wall after you shut it off — often indicates a broken interior line
- Check for leaks at the wall connection, not just the spout
- In freeze-prone markets (Denver, Colorado Springs, parts of Northern California), verify the faucet has a frost-free design
- Test the vacuum breaker (the small device that prevents contaminated water from flowing back into your home’s supply) for proper function
How Do You Spot Irrigation and Sewer Lateral Leaks?
Walk the entire perimeter of the property and the yard. Look for:
- Soggy or unusually green patches that persist days after the last rain classic sign of a buried supply line leak or sewer lateral crack
- Soft spots in the lawn that sink slightly underfoot
- Standing water near foundation walls
- Sewer cleanout caps — locate them, verify they are secure, and check for nearby moisture or odor
If your new home has an irrigation system, run each zone for several minutes while watching for spray-head problems, geysering, or mist that indicates a cracked underground line. Tampa, Phoenix, and Ventura homes with irrigation systems are also legally required to have backflow preventers — verify the assembly is present, accessible, and tested per local code.
Do You Need a Sewer Camera Inspection on a New Home?
For any home built before 1985, the answer is yes. Sewer lateral failures are among the most expensive plumbing repairs (often $3,000 to $15,000+) and they almost never appear on standard home inspections.
A sewer camera inspection costs $150 to $300 and reveals:
- Tree root intrusion through pipe joints
- Cracks, separations, or pipe sag (called bellies)
- Cast iron corrosion or clay pipe deterioration
- Orangeburg pipe collapse (a tar-impregnated pipe used heavily through the 1960s that fails in oval shapes)
- Improper connections or illegal taps from previous owners
For homes built before 1985, the camera inspection often pays for itself by exposing issues that justify a price negotiation with the seller or by giving you advance warning before move-in.
Where Is the Main Water Shut-Off Valve and Why Does It Matter?
The single most important piece of plumbing knowledge for any new homeowner is the location of the main water shut-off valve. In the event of a burst pipe, a failed water heater, or any other catastrophic leak, you need to stop water flow to the entire house in under 60 seconds.
Common shut-off locations:
- Inside the garage near the wall facing the street
- In a basement near where the main supply line enters the house
- In a utility room or laundry room near the water heater
- In an exterior box near the foundation (more common in Florida and warm-climate states)
- At the curb stop near the property line (requires a curb key tool)
Verify the valve turns easily and is not seized from rust or lack of use. A frozen shut-off valve during an emergency is one of the worst possible scenarios water continues flowing while you scramble for a wrench. If your valve is stiff, have a plumber service or replace it before move-in. The cost is $150 to $300, and it is one of the most defensible expenses in home ownership.
Also locate and label:
- Shut-off valves under each sink and toilet
- Water heater shut-off
- Main sewer cleanout (the access point to your sewer lateral)
- Outdoor faucet shut-offs (interior, for winterization)
Take photos of each location, label them, and share with every adult in the household.
When Should You Call a Plumber Before Moving In?
Some issues found during your DIY inspection can wait. Others need a licensed plumber the same week.
Call a plumber this week if you find:
- Water heater is past 10 years old or shows visible rust
- Multiple drains are slow or any drain backs up
- Water pressure drops noticeably when a second fixture runs
- Any visible moisture, warping, or odor under sinks
- A sewer odor anywhere in the house that does not resolve with running water
- Soft spots, soggy patches, or unusually green grass in the yard
- A water meter that moves with no fixtures running (hidden leak indicator)
- Any toilet that wobbles or runs continuously
Schedule a complete inspection within 30 days of move-in if:
- Home is 35+ years old
- No sewer camera inspection was performed during purchase
- Water bill from prior owners ran higher than typical
- Mature trees within 30 feet of the sewer lateral
- Located in a hard-water market (Phoenix, Tucson, Tampa, San Diego, Denver)
A complete pre-move-in audit including sewer camera inspection, leak detection, water heater check, and pressure testing typically runs $300 to $750 a fraction of what one undetected issue can cost in the first year.
What Should Be on Your Pre-Move-In Plumbing Checklist?
Use this comprehensive checklist as you walk through your new home before move-in day:
| Area | What to Check | Time Required |
|---|---|---|
| Water heater | Age, rust, noises, surrounding moisture, anode rod | 10 minutes |
| Kitchen sink | Pressure, drain speed, under-sink dryness, P-trap | 5 minutes |
| Each bathroom | Toilet stability, sink drainage, shower pressure, drain speed | 10 minutes per bath |
| Laundry connections | Hose condition, valve operation, drain function | 5 minutes |
| Outdoor faucets | Each hose bib, vacuum breakers, wall leaks | 5 minutes each |
| Yard inspection | Soft spots, soggy patches, sewer cleanout location | 10 minutes |
| Main shut-off | Location, operability, label condition | 5 minutes |
| Water meter test | Read meter, wait 30 minutes with no usage, re-read | 30 minutes |
| Sewer camera (if 35+ year home) | Professional inspection | Schedule with plumber |
| Total DIY time | ~2 hours |
A two-hour Saturday morning investment can prevent five-figure water damage losses. Skip none of these.
How Does Elite Rooter Support New Homeowners?
Elite Rooter provides pre-move-in plumbing inspections across Arizona, California, Colorado, and Florida. Our licensed technicians know what to look for in your local market — whether that is hard-water scale damage in Phoenix, root intrusion in Tampa clay laterals, freeze damage in Denver, or aging cast iron in San Jose Bay Area homes.
What every Elite Rooter pre-move-in inspection includes:
- Complete fixture and pressure testing
- Water heater age, condition, and lifespan assessment
- Under-sink leak detection
- Whole-house pressure check
- Outdoor faucet and irrigation backflow verification
- Main shut-off valve operation test
- Sewer camera inspection (homes 35+ years old)
- Written report with timestamped photos for your records
- Repair recommendations with upfront pricing
Establishing a relationship with a reliable local plumber early is one of the smartest moves a new homeowner can make. We become your first call when something fails not a stranger you find on Google at 2 a.m. in a flooded laundry room.
Related New-Homeowner Plumbing Guides
- Drain Cleaning Cost in 2026 — pricing across all our markets
- Why Does My Plumbing Smell Bad? — odor diagnostic guide
- Tampa May Rain Plumbing Issues — for Florida homeowners
- Tampa Pre-Hurricane Commercial Plumbing Audit — for property managers
- Common Plumbing Emergencies Tampa FL — when something fails
Frequently Asked Questions About Pre-Move-In Plumbing Checks
How long should a pre-move-in plumbing inspection take?
A thorough DIY pre-move-in inspection takes about 2 hours for a typical 3-bedroom home. A professional inspection from a licensed plumber takes 1 to 2 hours and runs $150 to $400 depending on home size and complexity. Adding a sewer camera inspection extends the visit by another 30 to 60 minutes and costs an additional $150 to $300.
Should I get a sewer camera inspection on my new home?
Yes, if the home is 35+ years old or you are buying in any market with mature trees, hard water, or aging municipal infrastructure. Sewer lateral failures are among the most expensive plumbing repairs ($3,000 to $15,000+) and almost never appear on standard home inspections. A $150 to $300 camera inspection often pays for itself by exposing issues that justify price negotiation with the seller.
What is the most common plumbing problem in new homes after move-in?
Hidden under-sink leaks rank #1, followed by water heater failure within the first 24 months and slow main-line drains. All three are detectable during a pre-move-in inspection but invisible during typical home buyer walk-throughs. Water heater age is the single biggest predictor — units past 10 years account for the majority of post-move-in failures.
Is a pre-move-in plumbing inspection worth the cost?
Yes, by a wide margin. The Insurance Information Institute reports average residential water-damage claims exceed $15,000 per incident. A $150 to $400 inspection that prevents a single major issue delivers 30-to-100x ROI. Even if no issues are found, you get documented baseline conditions that are valuable for future insurance claims.
How do I find the main water shut-off valve in my new home?
Common locations include inside the garage near the street-facing wall, in the basement near where the main supply line enters the house, in a utility room near the water heater, in an exterior box near the foundation (more common in Florida and warm climates), or at the curb stop near the property line. Test the valve immediately to ensure it operates smoothly. A seized valve during an emergency is one of the most preventable disasters in home ownership.
What should I check on a new home’s water heater?
Check four things: visible rust on the tank exterior, manufacturing date sticker (units past 10 years should be replaced proactively), unusual popping or rumbling noises, and any moisture or staining around the base. Also verify the T&P relief valve and check the anode rod condition if accessible. Most US water heater failures occur between years 8 and 12 of service.
Does standard home insurance cover pre-existing plumbing problems?
No. Standard homeowners insurance typically excludes pre-existing damage, gradual leaks, and maintenance-related issues. Insurance covers sudden, accidental water damage — which is exactly why a pre-move-in inspection matters. Documentation showing systems were in working condition at the time of purchase strengthens future claims and protects against denials based on “pre-existing condition” arguments.
What is the difference between a home inspector’s plumbing check and a plumber’s inspection?
Home inspectors check plumbing visually as part of a 2-3 hour whole-house inspection. They run water briefly, look for visible leaks, and confirm fixtures function. A licensed plumber’s inspection is dedicated to plumbing only including pressure testing under simultaneous fixture use, water heater diagnostics, sewer camera inspection, and detection of issues that only appear under operational stress. Both have value, but plumber inspections catch issues general inspectors routinely miss.
How quickly should I address plumbing issues found during pre-move-in inspection?
Address issues based on severity: any active leak, water heater past 10 years, or signs of sewer line problems should be fixed before move-in. Slow drains, minor pressure issues, or aging fixtures can be addressed within the first 30 to 60 days. Document everything found, even items you defer — this creates a baseline for future maintenance planning.
Should I get a backflow preventer test on my new home?
If your new home has irrigation, a swimming pool, or any cross-connection between potable water and another water source, yes. Florida, Arizona, and California have specific backflow testing requirements that are often the responsibility of the property owner. Annual testing typically runs $85 to $165 and is required by most municipal water authorities.