
A copper pipe leak repair can feel like an emergency waiting to happen. Imagine water dripping onto your floors or seeping into walls, with the immediate worry of escalating repair costs. It’s a situation no homeowner wants to face, but the good news is that you don’t need specialized tools or professional expertise to fix many common leaks.
In this guide, you’ll discover simple and effective step-by-step methods to repair copper pipe leaks without soldering, helping you save money, prevent further damage, and restore peace of mind.
Why Repairing Copper Pipe Leaks Without Soldering Matters
- Save time and money
- Perform quick emergency repairs
- Avoid dealing with open flames or harmful fumes
Simple Methods for Copper Pipe Leaks Repair Without Soldering
1. Push-Fit (SharkBite) Fittings

Push-fit fittings, such as SharkBite, are a game-changer for DIY plumbing. These fittings provide a durable and watertight seal without any soldering.
Here's how:
- Cut out the damaged section: Use a pipe cutter for clean, straight cuts.
- Prepare the pipe ends: Deburr and clean the ends to ensure a smooth connection.
- Mark the insertion depth: Use a marker to avoid incomplete fittings.
- Push the fitting in place: Insert the pipe until it clicks securely into the fitting.
How to Use a SharkBite Slip Coupling for Freeze Breaks
In case of a freeze break in a half-inch copper line, you can use a SharkBite slip coupling as follows:
- Turn off the water supply: Ensure no water is flowing.
- Cut out the damaged section: Remove no more than 2 inches of pipe.
- Prepare the pipe: Deburr and clean the ends, then mark the depth gauge.
- Install the coupling: Push the slip end of the SharkBite fitting over one pipe until it reaches the mark. Use a disconnect clip to slide the coupling back onto the adjoining pipe until it clicks into place.
- Test your work: Turn the water back on to confirm the repair is watertight.
2. ProPress Fittings: A Professional-Grade Option

- Cut the pipe: Use a pipe cutter to remove the damaged section.
- Deburr the pipe: Smooth the edges with a deburring tool or sandpaper.
- Attach the fitting: Slide the ProPress fitting onto the pipe.
- Crimp the fitting: Use a ProPress tool to compress the fitting, creating a watertight connection.
3. Compression Couplings: A Reliable Alternative
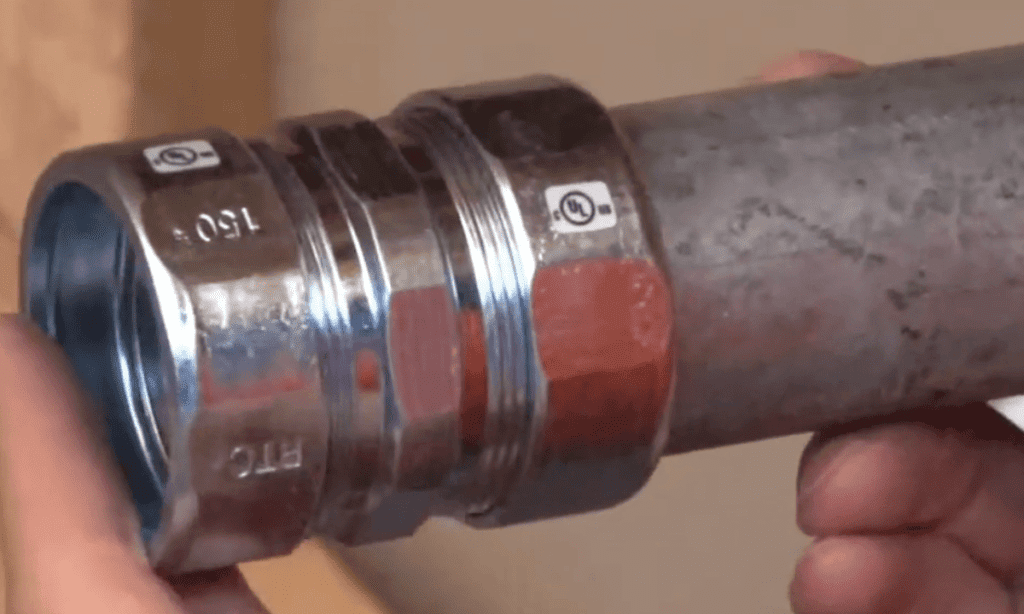
Compression couplings are another solder-free option to fix leaks effectively. They’re ideal for securing a watertight seal on copper pipes. Follow these steps:
- Turn off the water supply: Ensure the pipe is fully drained.
- Slide on compression nuts and ferrules: Position these components on each end of the pipe.
- Insert the coupling: Fit it into the pipe ends.
- Tighten with wrenches: Secure the nuts to create a leak-proof connection.
4. Epoxy Putty: A Quick and Versatile Fix

Epoxy putty is a handy tool for patching small holes and cracks in copper pipes. It’s a great temporary solution until you can make a permanent repair.
- Clean the pipe surface: Remove dirt, grease, and moisture.
- Mix the putty: Knead it until the color is uniform.
- Apply over the leak: Cover the damaged area, smoothing the edges.
- Allow it to cure: Follow the manufacturer’s instructions for drying time.
5. Pipe Repair Tape: The Instant Leak Stopper
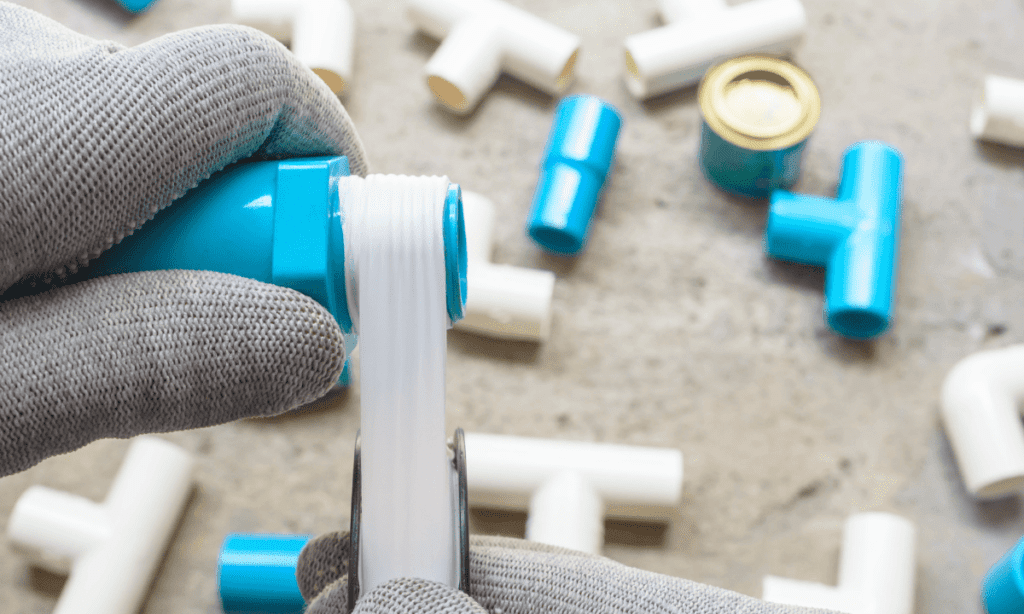
Here’s how to use it:
- Clean and dry the pipe: Ensure the surface is free of debris.
- Stretch and wrap: Stretch the tape tightly while wrapping it around the leak.
- Overlap generously: Cover the area and extend beyond the leak for added durability.
6. Pipe Repair Bandages: Reinforce Your Fix
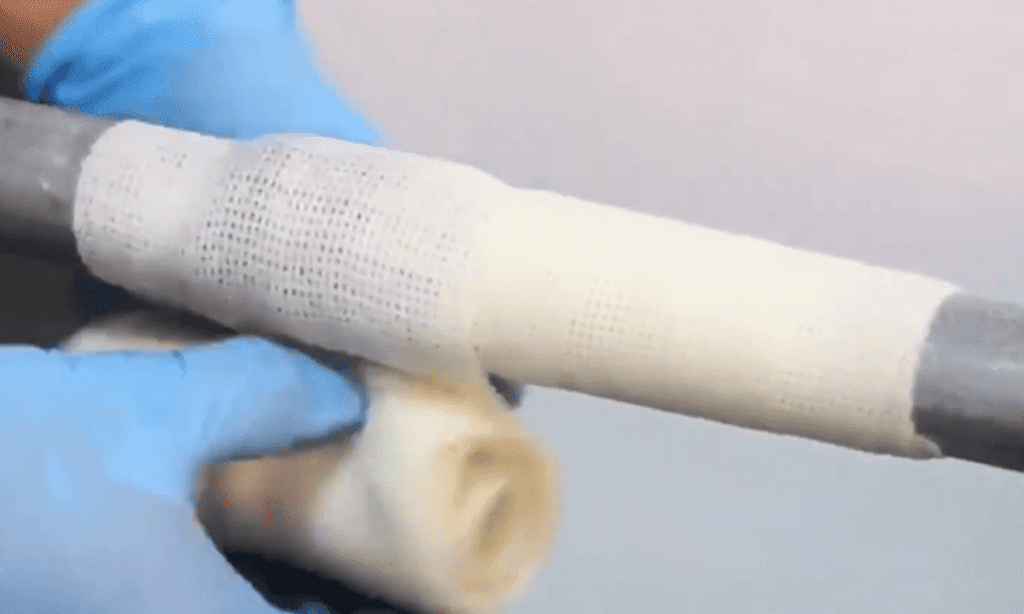
- Dip the bandage in water: Activate the resin.
- Wrap over the repair: Cover the damaged area completely.
- Allow it to cure: The bandage will set rock-hard within 30 minutes.
7. Soldering: A Traditional But Permanent Solution
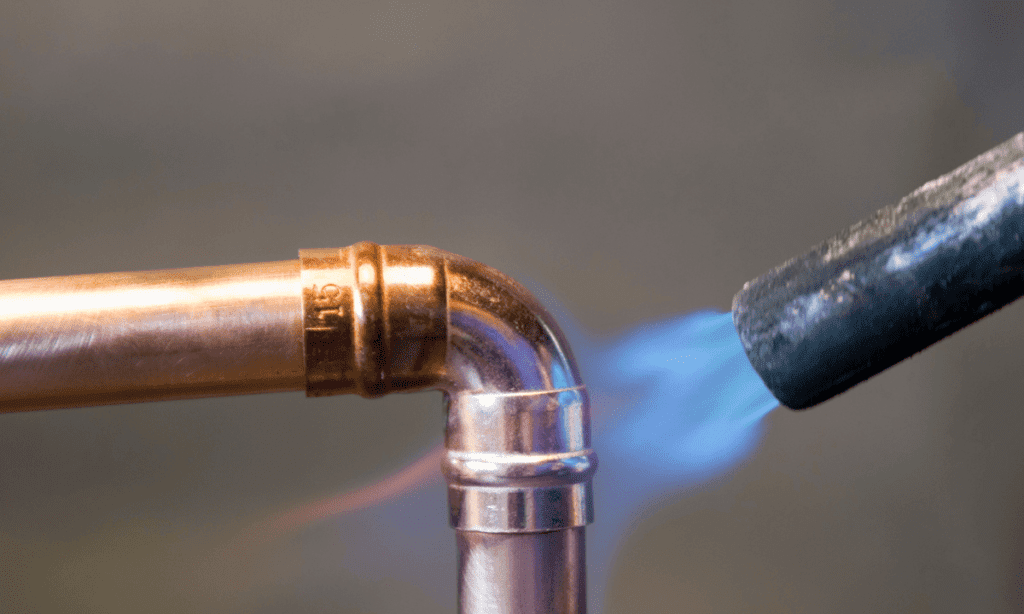
If you’re comfortable with tools, soldering can provide a permanent fix for copper pipe leaks.
Here’s a quick overview:
- Shut off water and drain the pipe: Ensure the pipe is completely dry.
- Clean the damaged area: Use an abrasive pad to remove debris.
- Apply flux: Coat the area with soldering flux.
- Heat with a blowtorch: Melt the flux and add solder to seal the leak.
Cost Considerations for Copper Pipe Repairs
Here’s a quick guide to help you estimate your expenses:
- Average Repair Costs: Expect to pay between $150 and $1,500, depending on the extent of the damage and the method used.
- Epoxy Putty Repairs: A cost-effective solution, averaging $150–$300 for small, accessible leaks.
- SharkBite Fittings: Easy to use but slightly pricier, with fittings costing $10–$50 each, plus labor if you hire a plumber.
- ProPress Tools: Ideal for larger jobs but requires investing in a manual tool ($175) or borrowing/renting a professional-grade tool ($2,000).
- Soldering: While cost-effective for DIYers with tools on hand, professional soldering repairs average $250–$600, depending on the complexity.
Factors That Influence Costs
Several variables can impact the total cost of a repair:
- Accessibility: Pipes buried under concrete or walls are more expensive to repair than exposed pipes.
- Materials: Copper pipe repairs typically cost $500–$1,500 due to the skill required for soldering or replacement.
- Labor Rates: Plumbers charge $75–$150 per hour, with rates increasing for emergency repairs.
- Permit Requirements: Some municipalities may require permits costing $50–$300, depending on the repair scope.
Source: https://homeguide.com/costs/main-water-line-repair-cost
Conclusion
Repairing copper pipe leaks without soldering is not only possible but also practical. From push-fit fittings to ProPress tools. These methods offer safe and efficient ways to stop leaks. With a little preparation and the right tools, you can handle leaks like a pro, saving time and money.
Now that you know how to repair copper pipe leaks without soldering, you’re ready to tackle your next plumbing challenge with confidence!