A water heater expansion tank is a small but essential component that protects your home’s plumbing system from excessive pressure. When your water heater heats water, the volume of water expands. It’s important to have a water heater thermal expansion tank because, since water is incompressible and most plumbing systems are closed (due to check valves), this expansion has nowhere to go—leading to pressure buildup.
This pressure can damage your water heater, pipes, fixtures, and even trigger leaks. An expansion tank solves this issue by providing a cushion of air that absorbs the extra volume.
How Expansion Tanks Work
An expansion tank contains a rubber bladder in the center, which separates two chambers: one for air and one for water. The tank is connected to the cold water line, usually near the water heater. When water expands due to heating, it pushes into the tank, compressing the air and relieving pressure in the system.
This simple mechanism helps maintain system stability, protects your heater, and reduces wear and tear on your plumbing.
Maintaining the correct air pressure inside the tank is essential. If the air pressure is too low, the tank can’t properly absorb expansion. Over time, if not maintained, the internal bladder may rupture, causing complete failure of the expansion tank.
Signs of a Failing Expansion Tank
If your expansion tank stops working, it won’t be obvious at first. But certain symptoms can alert you:
- Water dripping or leaking from the temperature and pressure (T&P) relief valve.
- Occasional banging or knocking noises in pipes.
- Fluctuating water pressure when using hot water.
- Visual rust, corrosion, or moisture on or near the tank.
- If the Schrader valve releases water instead of air—it means the internal bladder is ruptured.
Most commonly, homeowners notice leaks from the T&P valve, especially during or after high water usage like showers or laundry cycles.
How to Test Your Expansion Tank
Testing an expansion tank is a quick process that can save you hundreds in repairs:
- Measure your home’s water pressure using a pressure gauge attached to an outdoor spigot or hose bib. The ideal pressure is usually between 50–75 psi.
- Turn off the cold water inlet valve to the heater.
- Open a nearby hot water faucet and let water run until it stops—this relieves system pressure.
- Check the air pressure in the expansion tank using a tire pressure gauge on the Schrader valve.
If the air pressure reads significantly lower than your water pressure, you’ll need to recharge it. If water comes out of the valve, the bladder is broken and the tank must be replaced.
Recharging a Low-Pressure Tank
If your tank is just low on pressure and the bladder is still intact:
- Use an air compressor or manual bike pump to fill the tank up to match your home’s water pressure.
- After recharging, monitor the system for a few days to see if leaks or pressure fluctuations continue.
- If pressure drops again, or if symptoms return, it’s safer to replace the tank.
Replacing a Faulty Expansion Tank
If the expansion tank is damaged or failed, replacing it is the best course of action. Here’s how to do it step by step:
Step 1: Safety First
To begin replacing the expansion tank, the first thing you need to do is depressurize the system. Start by turning off the cold water inlet valve, which is usually located above your water heater.
Then, open a hot water faucet somewhere in your home and let it run until the water stops flowing. This step is important to relieve the pressure from the water side of the system. Next, turn off your heat source.
In the case of a gas water heater, simply set it to “Pilot” mode—this keeps the pilot light on but prevents the burner from firing up. Since there’s water inside the expansion tank, you’ll also want to drain a few gallons from the water heater using the drain valve at the bottom.
This prevents water from spilling out when you remove the tank. You don’t need to drain the entire tank—just enough to ensure the expansion tank is mostly empty.
Step 2: Remove the Old Tank
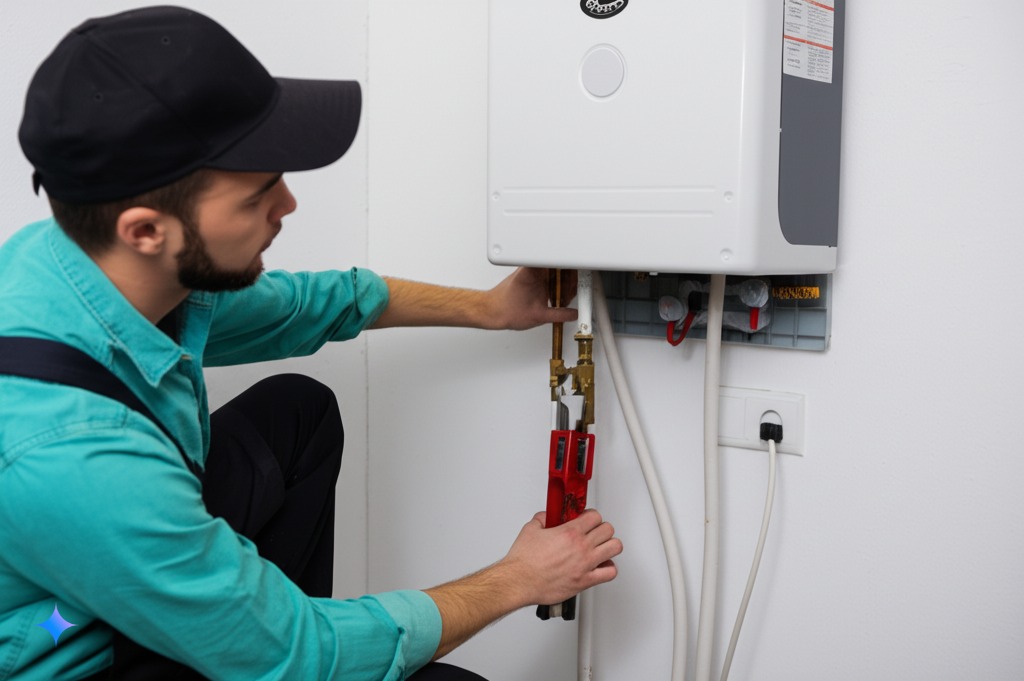
Now that the system is depressurized and a bit of water has been drained, it’s time to remove the old expansion tank. First, make sure to support the plumbing that the expansion tank is connected to using one wrench—this helps prevent stress on the pipe.
Then, with another wrench, loosen the tank by turning it counterclockwise. Once it’s loose enough, you can simply spin it off by hand and lift it away from the system. Be careful during this step—if there’s any water still left inside, the tank might be a bit heavy or drip slightly as you remove it.
Step 3: Prepare the New Tank
Before installing the new expansion tank, you’ll want to check the air pressure it comes with from the factory. Most new tanks are pre-charged to around 40 psi, but this might not match your home’s water pressure.
Use a tire gauge on the Schrader valve at the top of the tank to check it, and if needed, adjust the pressure using a bike pump or an air compressor to match your home’s pressure—typically around 60 to 75 psi depending on your location.
Once the pressure is set correctly, wrap the threads on the tank’s connector with Teflon tape and apply a bit of pipe dope as well. This helps create a watertight seal when you install the tank and prevents leaks.
Step 4: Install the New Tank
Once the new expansion tank is pressurized and the threads are sealed, go ahead and screw it into place by hand. As you tighten it, make sure to support the plumbing with a wrench to avoid putting strain on the pipes.
After the tank is firmly installed, turn the cold water supply back on. You’ll hear water and possibly some air flowing through the system. Open a hot water faucet and let it run until all the trapped air is flushed out and the water flows steadily.
Once everything is back to normal, restore the power or gas to your water heater and set the temperature to your preferred level. That’s it—your new expansion tank is now installed and your system should be running smoothly.
Video
Supporting the Expansion Tank
Expansion tanks get heavy once they fill with water. A full tank can weigh 20+ pounds. If mounted horizontally or away from a secure point, you should use a support bracket or strap kit. A wooden backing plate attached to wall studs helps create a sturdy mounting base.
Use metal straps and bolts to hold the tank in place. Trim or tie up excess strap length with zip ties to avoid hazards. For safety, twist the ends off zip ties instead of cutting—cut zip ties leave razor-sharp edges.
Final Checks and Ongoing Maintenance
After installation, inspect all joints and valves for leaks. Regularly check the pressure in your expansion tank and adjust if necessary. A properly maintained tank can prevent costly repairs to your plumbing system and extend the life of your water heater.
Pro Maintenance Tips:
- Test your tank’s pressure every 6–12 months.
- Replace your expansion tank every 5–10 years depending on quality and usage.
- If you’re on a closed plumbing system, never operate without a working expansion tank.
Conclusion
A water heater thermal expansion tank might seem like a small part of your home’s plumbing system, but it plays a major role in protecting your heater and pipes. Regular testing, maintenance, and timely replacement can prevent serious water damage and costly repairs.
Even if you’re not a professional plumber, this guide should give you the confidence to check and replace an expansion tank on your own. A little effort now can save you from much bigger problems down the road.


